Description
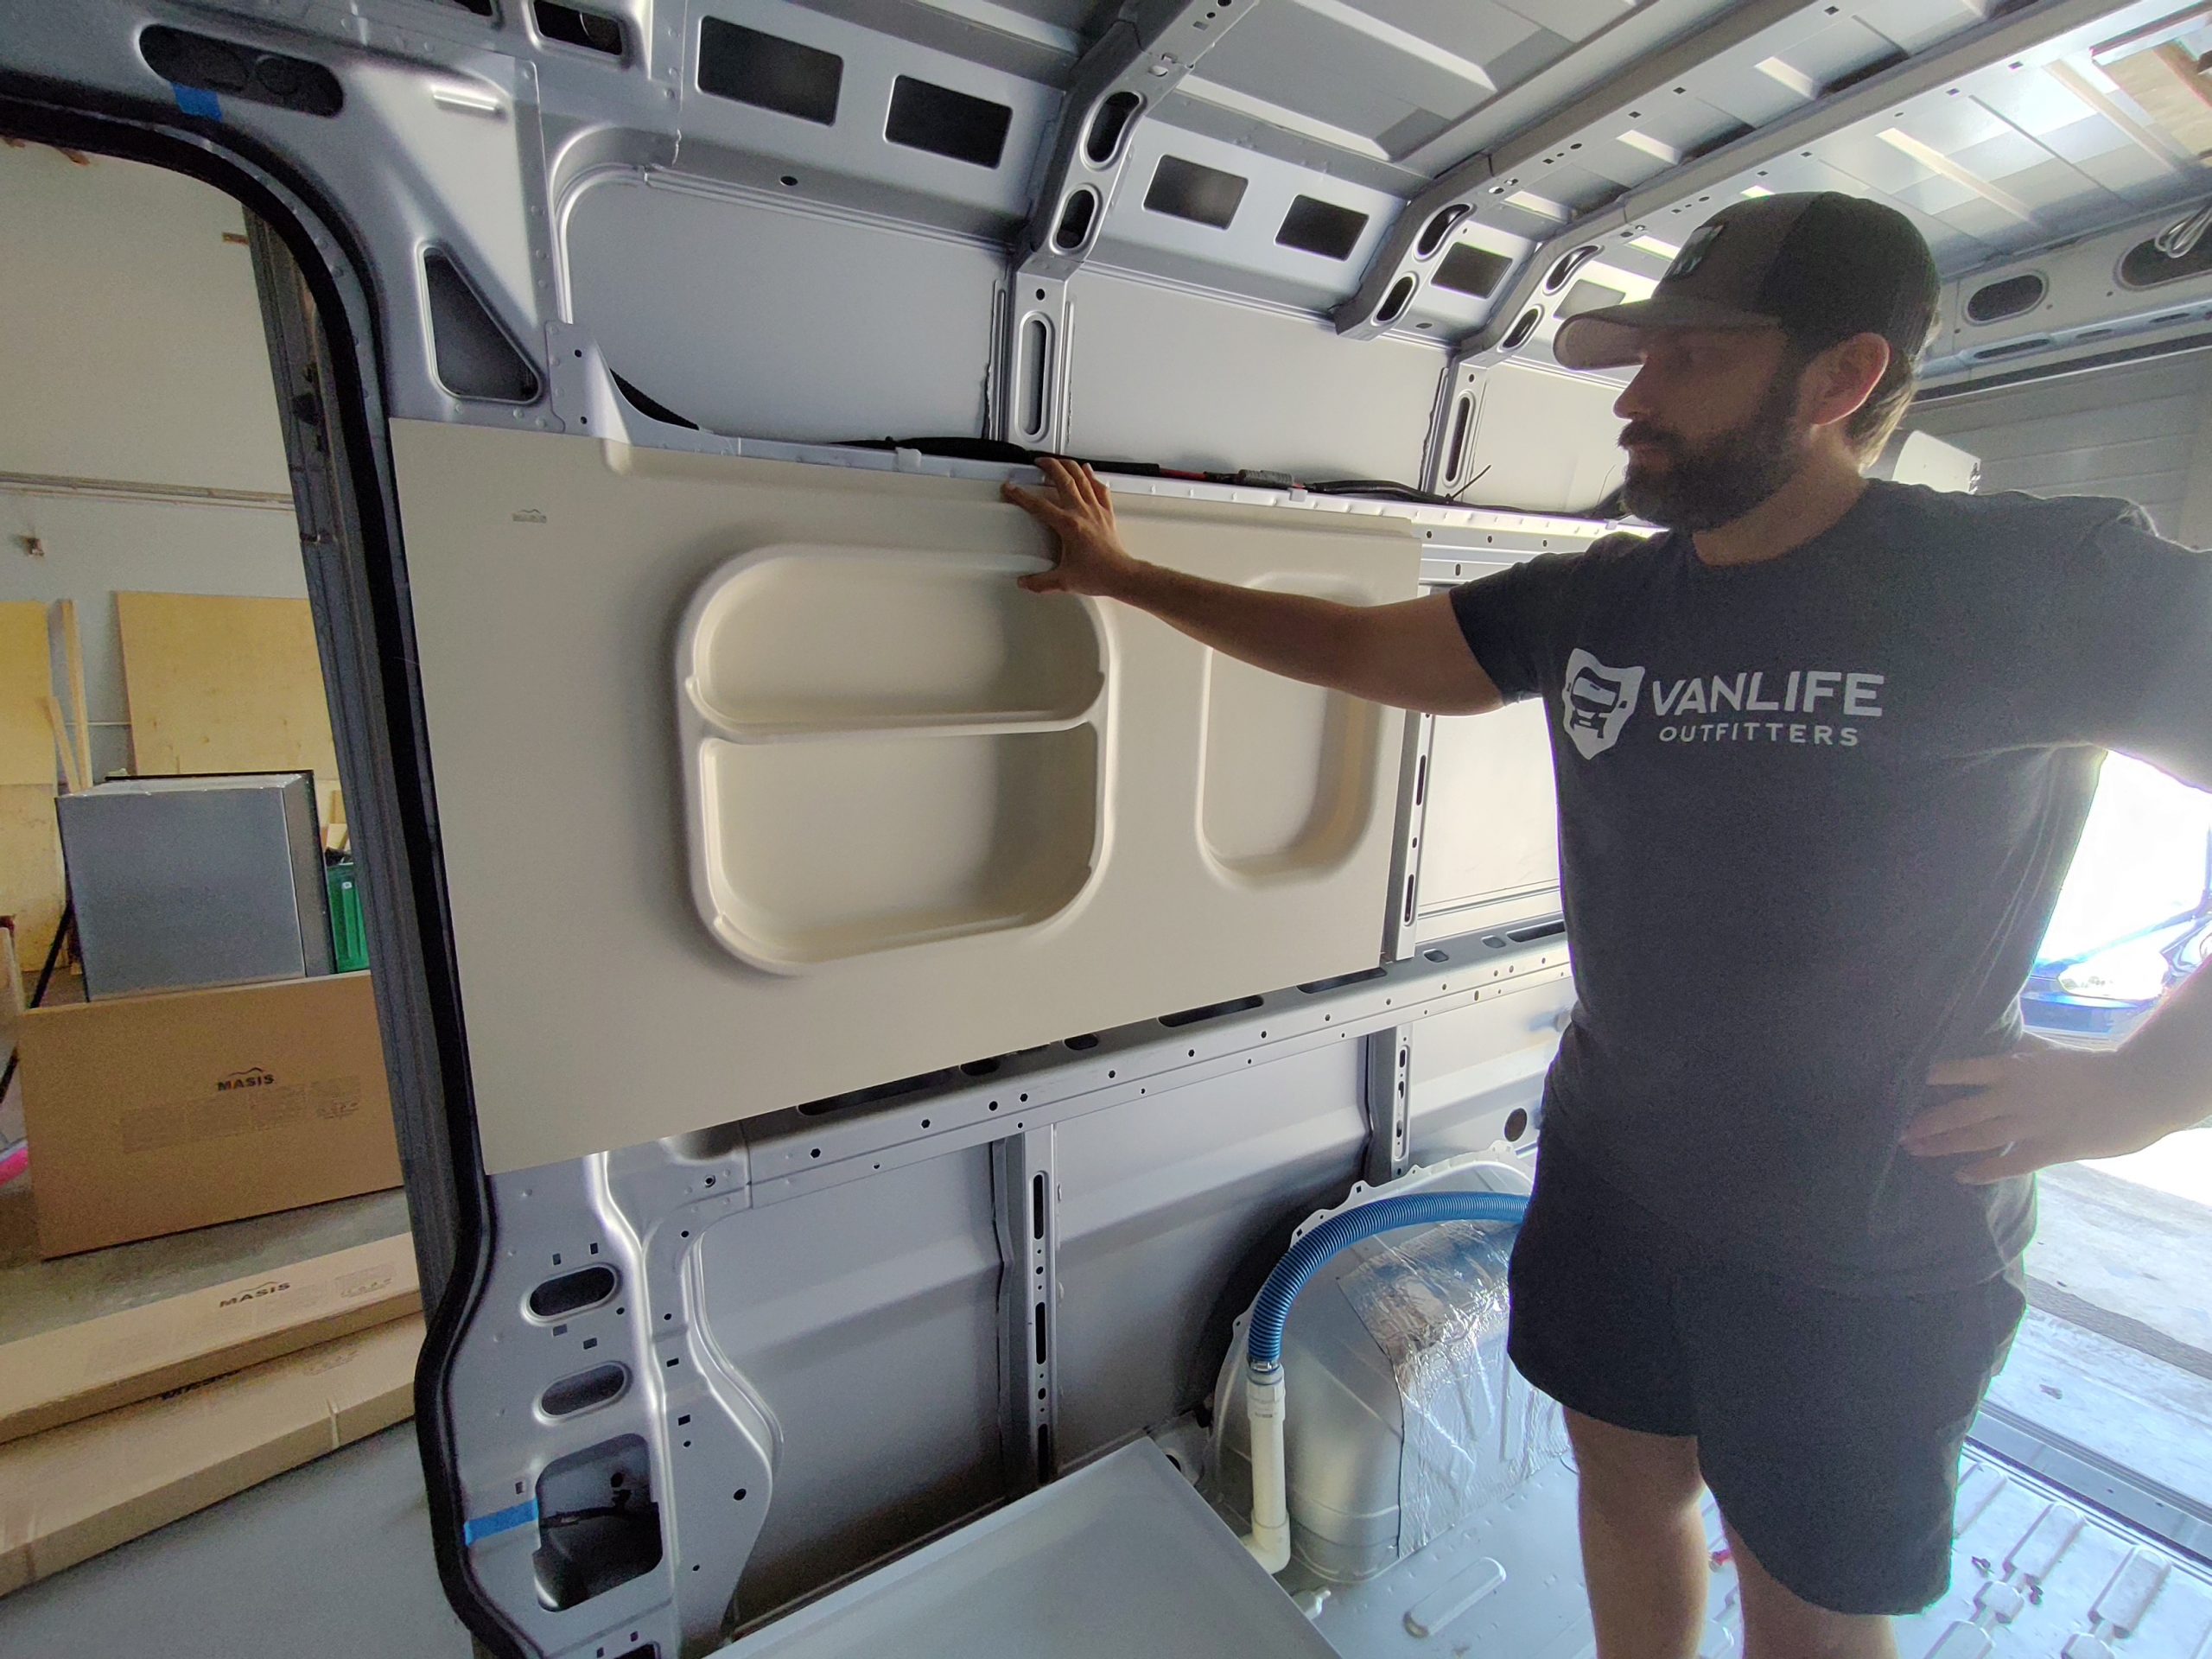
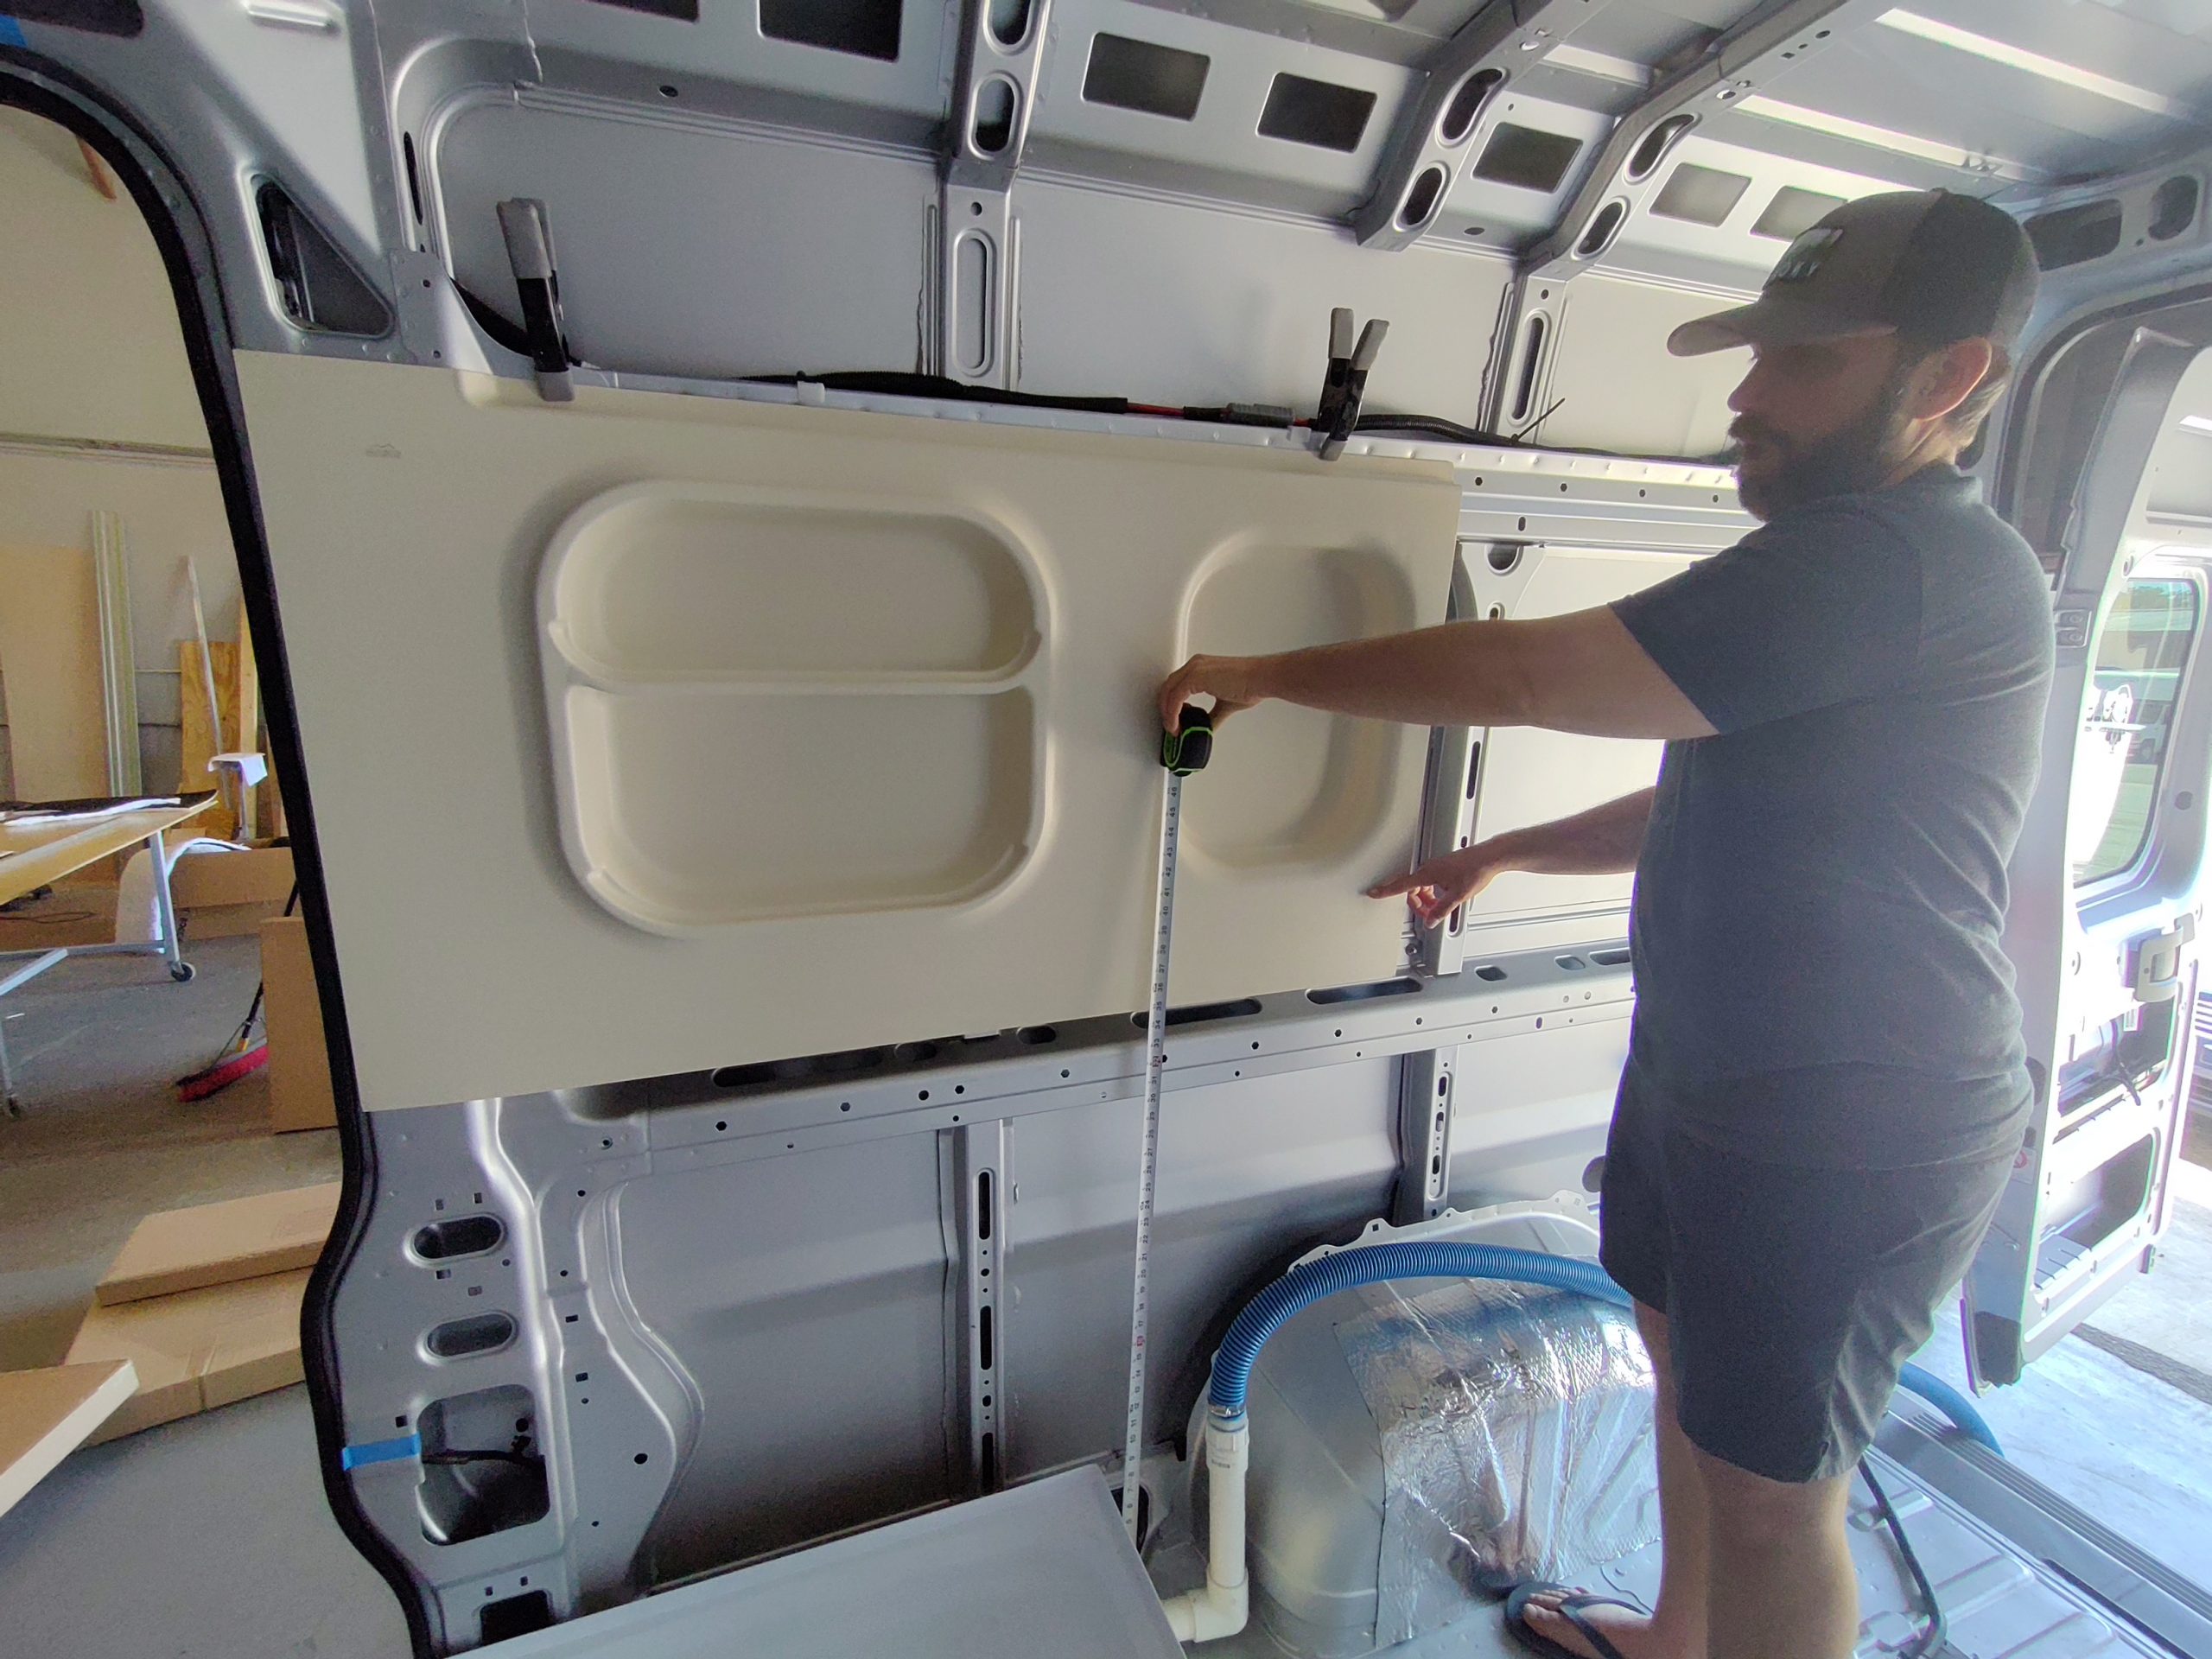
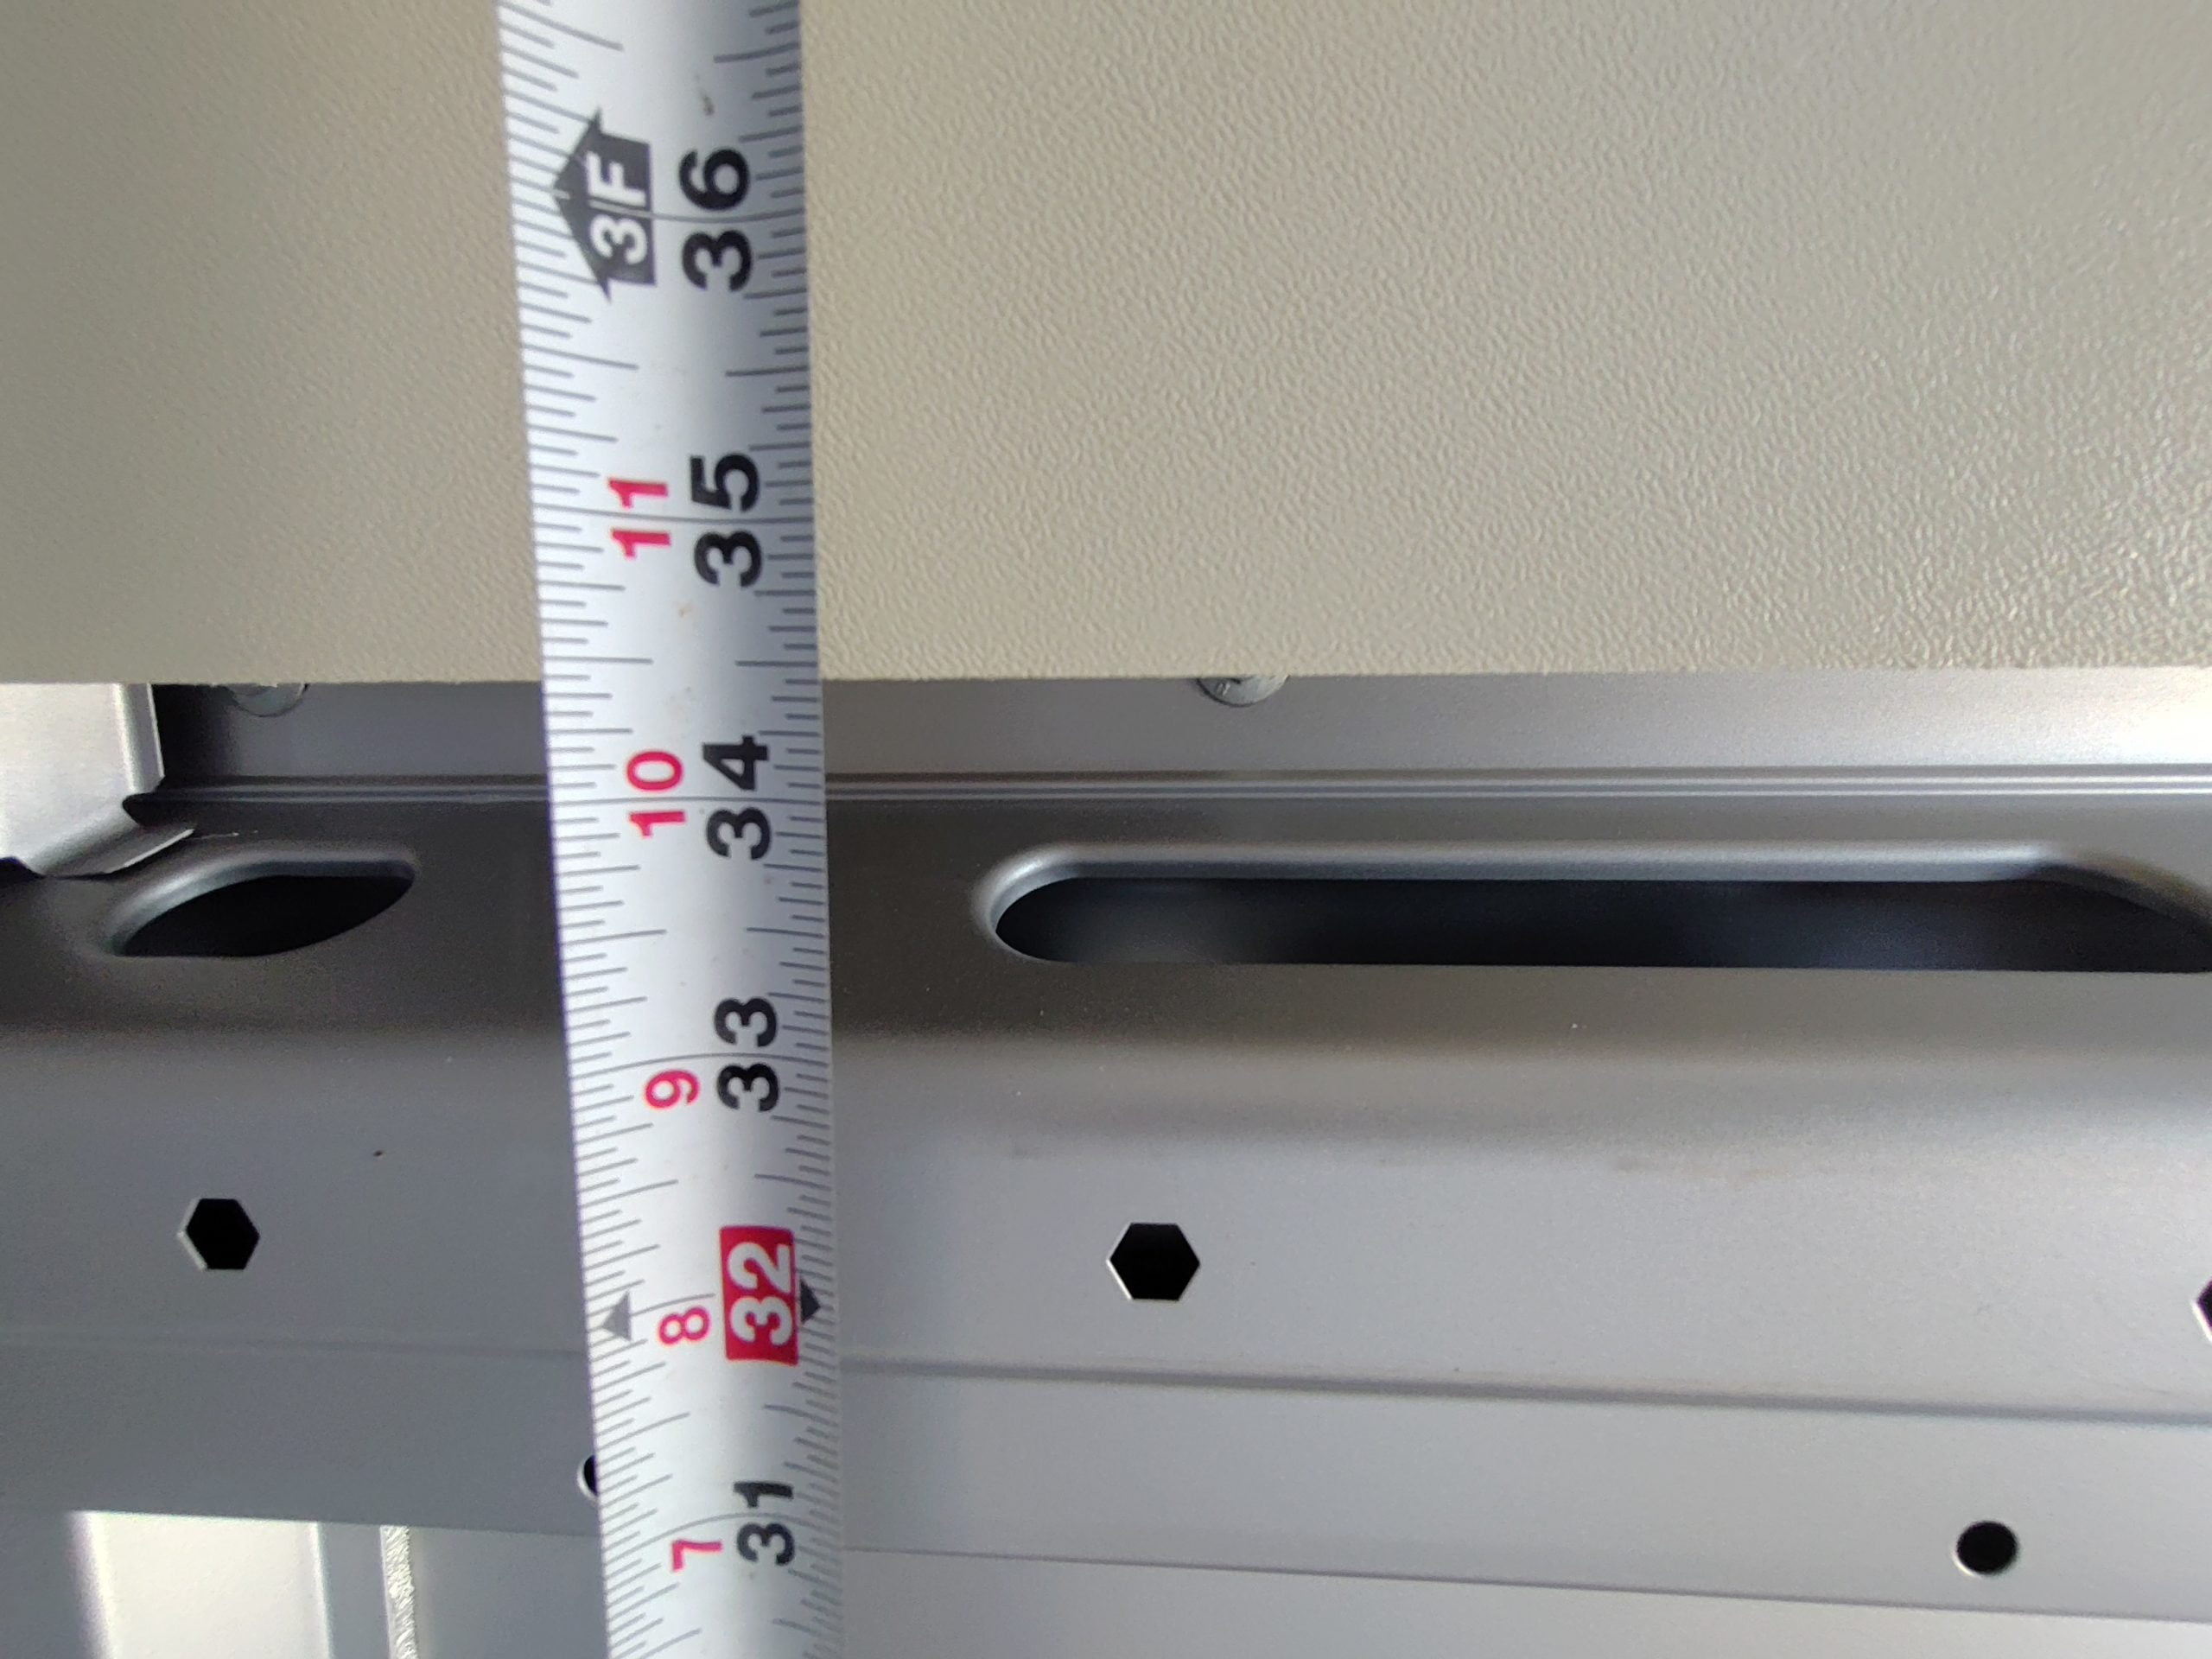
This panel can be used the middle of the passenger side of the van just behind the sliding door. This is where many people locate their galley. This panel stops short of the middle horizontal beam of the van creating a 2″ gap, this gap should be covered by the countertop / cabinet. This panel has recessed cubbies that can be used as shelves or a spice rack. You will need to fabricate glue a piece of wood or plastic of your choice to create the front of the shelf / spice rack.
Sized for the Promaster 2500 159″ wheel base. Can also be used in 159″ extended and 136″ wheelbases.
DURABLE QUALITY MATERIALS
Made of 3mm pre-cut molded ABS plastic.
TIME SAVING
Eliminate tens of hours of complex and frustrating carpentry work.
WEIGHT SAVING
Much lighter than wood.
CUSTOM PRO LOOK
Curved and molded to perfection. These fit into the space with precision for a high end custom look for a fraction of the price of a professional builder.
EASY TO USE
They are extremely easy to install and cut to suit your needs (Windows? No Problem!)
CUSTOMIZABLE
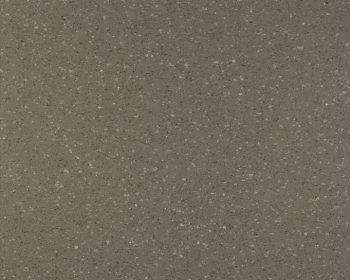
The panels are a sort of off white/cream color out of the box. However, the colors can vary slightly between panels and batches. We recommend that you customize the panels to match the interior of your van. The panels can be painted with spray paint that is designed for vinyl/plastic. Alternatively, the panels can be covered with fabric or other materials. So far we have tested a few spray paints including Krylon Fusion and SEM Color Coat both of which have held up well. We have also tested high quality latex paint applied with a brush which is not as durable but may be an option in some situations. Check out this video where we test various paints and their durability with these panels!
Installation
The panels can be attached to the van structure in a variety of ways. One approach is to drill holes into the van sheet metal and then attaching the panels using "automotive push clips" (similar to how the few factory-supplied panels in a Promaster are attached). Alternatively, you could secure the panels with self-tapping screws covered with screw caps. In both cases the push clips or screw head covers can be painted with to match your interior.
Window Cut Outs
For factory glass windows or factory-style windows such as CR Laurence or AMA windows, we recommend you cut the window opening large enough that the metal area surrounding the window is exposed so that you can use magnetic window coverings.
If you're using European-style acrylic windows (Dometic, Artic Tern, etc.) you'll need to construct a 1/2" to 3/4" (15-20mm) deep wooden frame for the window and then cut the corresponding window opening into the panel. After this you can install the panel and finally the window.
We recommend using a jig saw with a high-quality wood blade. Be sure to keep the saw/blade moving so that you don't melt the plastic with the hot blade during the cutting process. After the cut, you can finish the edges with a file or sand paper. You can trim the edges with Trim-Lok type edge guard (1/8" edge and 7/16 leg length). The edge guard can be painted with to match your interior.
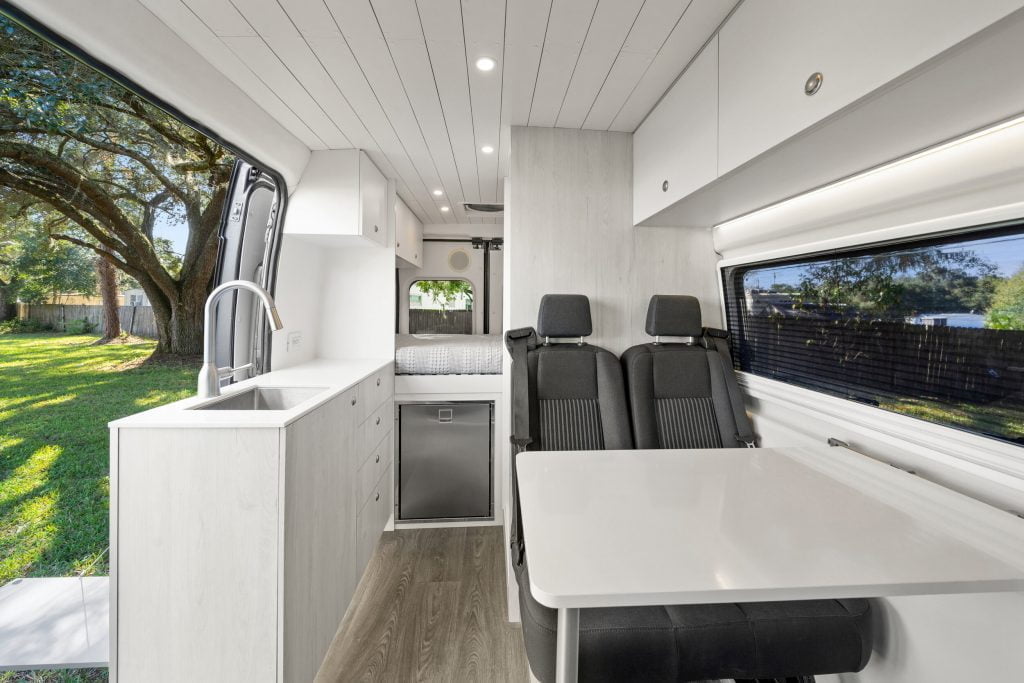
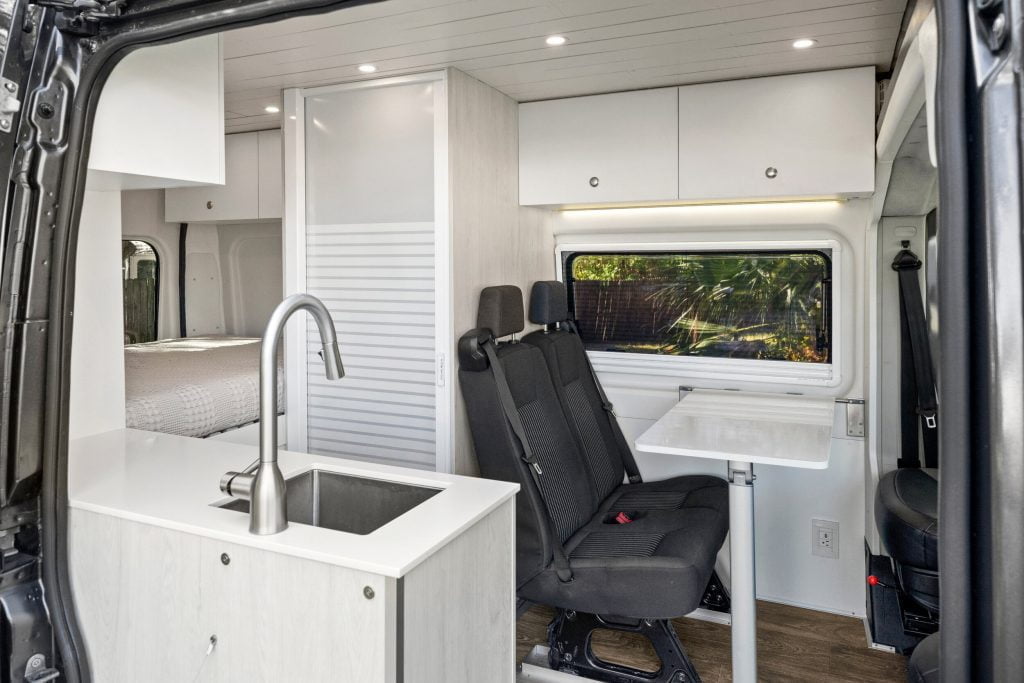
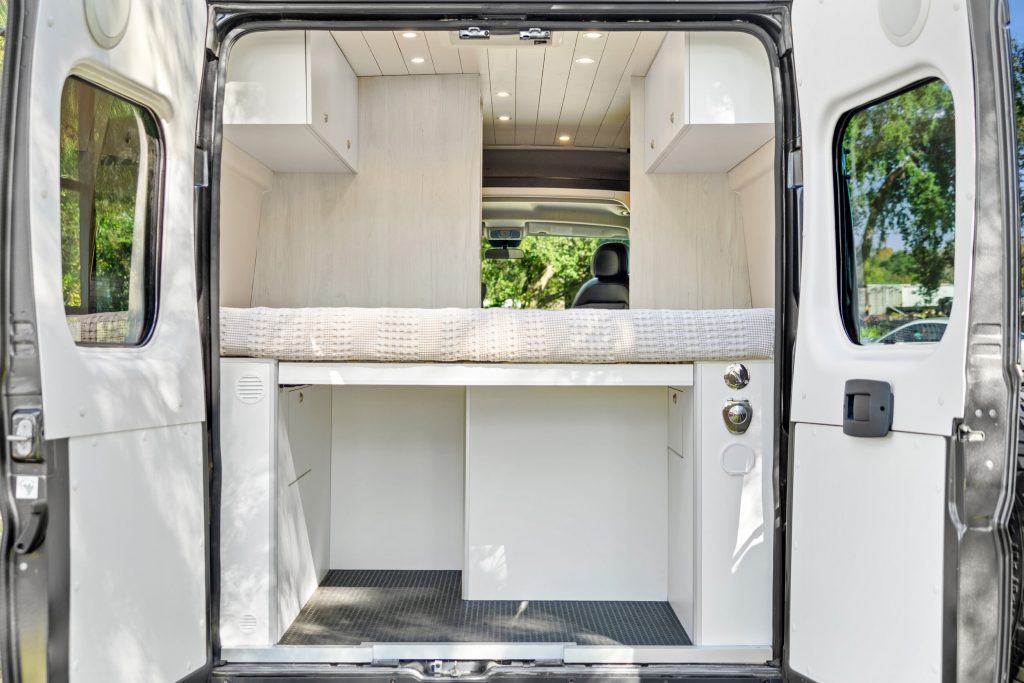
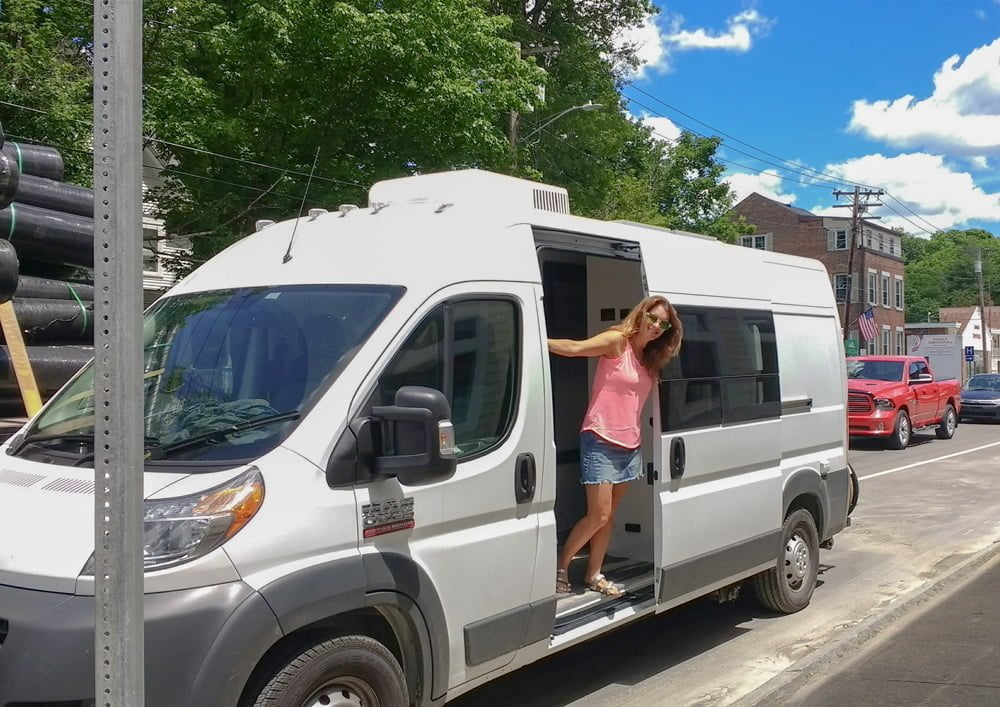
Be sure to check out the other Promaster wall panels we sell. The photos below are of Master Overland’s Malibu conversion which used many of these panels.

